

TIG Settings Explained (Part 1)
- N. Ferro
- Mar 21, 2020
- 4 min read
Updated: Apr 18, 2020
If you're anything like me, the first time you looked at a TIG welder front panel you thought to yourself "how am I ever going to understand what all of these knobs do?" Don't worry, this post will explain what each of the settings do and why you may (or may not) need them for the type of work you're planning to do.

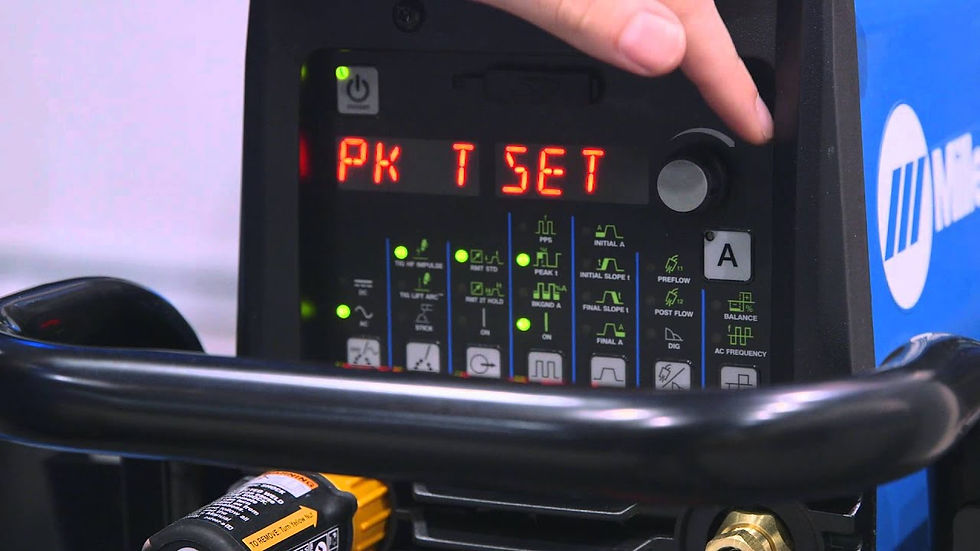
Because there are dozens of different machines out there with varying complexities of settings, I'll start out by going through the setting on the machine pictured above, my AHP AlphaTIG 201XD. This is a feature-rich machine with everything you'd need to get started so it's a good place to begin our discussion today.
POST FLOW
This is an easy one to get us started. As we've talked about in previous posts, TIG welding requires Argon gas to shield the liquified metal puddle from the oxygen in the air. Post flow (which on this machine is adjustable from 1 second to 10 seconds) is the amount of time that the Argon continues to flow after you've stopped welding. For materials like stainless which absorb heat quickly and remain very hot after the weld is finished, it can be necessary to continue to protect that weld from the Oxygen even for up to 10 seconds AFTER you stop welding. Other metals like mild steel and aluminum will cool quicker and don't require the same extended argon protection. Being able to turn the post flow up or down depending on the project is a nice feature that can save you unneeded trips to the welding supply shop to fill your bottle.

PULSE
Put most simply, pulse is a setting in which the machine alternates between peak amps and base amps. You can typically adjust what those base and peak amps are, the amount of time the machine spends on each, and the number of times the machine pulses each second. This feature can help you get that stack of dimes look that people love with TIG, or help you manage heat input into thin sheet metal to avoid blowing holes in it. As we'll discuss, there are several different adjustments you can make to get the same effect so there is no one "best" setting. Let's talk about each sub-setting within pulse and what they do.
Pulse Frequency (Measured in either Hertz "Hz" or Pulses Per Second "PPS")
Don't get hung up on whether your machine measures this in Hertz or Pulses Per Second, for all intents and purposes they mean the same thing. This number represents how many times per second the machine will go between main (or peak) amps and background (or base) amps. There are an infinite amount of combinations to play with here but to get started, I recommend trying 1 or 2 pulses per second and dabbing filler wire with each pulse to get yourself used to adding filler on a consistent basis. If you're working with sheet metal, higher settings like 150 pulses per second can help to avoid blowing through the metal.
Pulse Time On (Measure as a percentage of time)
This is an easy one. Because we're dealing with one second intervals, your pulse time on setting is the percentage of that second that the machine spends at peak amps. Need to burn into the metal more? Increase your pulse time on. Blowing holes in the piece? Decrease your pulse time on.
Peak or Main Amps
This is the amperage the machine will be at when at it's high point. You can adjust this setting up or down instead of pulse time on if you're having issues with blowing through a part or not melting into it enough. It's better to adjust either this setting OR pulse time on instead of both at once. Make one change at a time and see how it effects your weld.
Base or Background Amps (Measured as a percentage of main amps)
Even though the dial on my AHP says "Base Amps" it's not actually the amps that you're adjusting, it's the percentage of your main amps. For example, if my main amps are set to 100 and I set the base amps to 40%, the machine would cycle between 100 amps and 40 amps. As with the two settings mentioned above, you can use this setting to further dial in your process.
2T vs 4T
To put this as simply as possible, 2T is what you would think of as OFF/ON. It can be used with a foot pedal or a button on a torch switch. When you press the button or the foot pedal the arc starts and remains on until the button or pedal is released. Obviously the pedal allows you to adjust your amps on the fly but the basic concept is still the same. As long as the pedal is depressed, the arc is on. Once it's fully released, the arc is off.
4T is where people tend to get confused. A quick note; if you're using a foot pedal you need to be using 2T so this section on 4T only applies to using a torch switch. 4T allows you four operations.
Press the torch switch once and your argon flow begins as the machine starts the arc at your "Start Amps" setting, this is usually a low amperage setting.
Release the switch and your amperage will ramp up to your "Main Amps" setting. Some machines will allow you to set how many seconds it will take for your machine to reach peak amps (known as Upslope) while others are preset. You can now weld your joint at your main amps setting.
Press the torch switch again and your machine will begin to ramp down toward your "Base Amps" setting. Again, some machines allow you to adjust the number of seconds here (known as Downslope) will others are fixed.
Release the switch again and your arc will terminate and the Post Flow will continue for the number of seconds you've selected.
This function can be useful for users who are manufacturing parts in larger quantities and want to reproduce a weld to the same specifications time and time again.
To keep this article from going into too many topics all at once I've decided to break this out into two parts. Part two will include AC Balance and AC frequency as well as Lift Arc, High Frequency Start and Waveshape. In the meantime, spend some time playing around with the settings we talked about today. There's no substitute for hood time so grab some scrap metal and start pra


Comments